
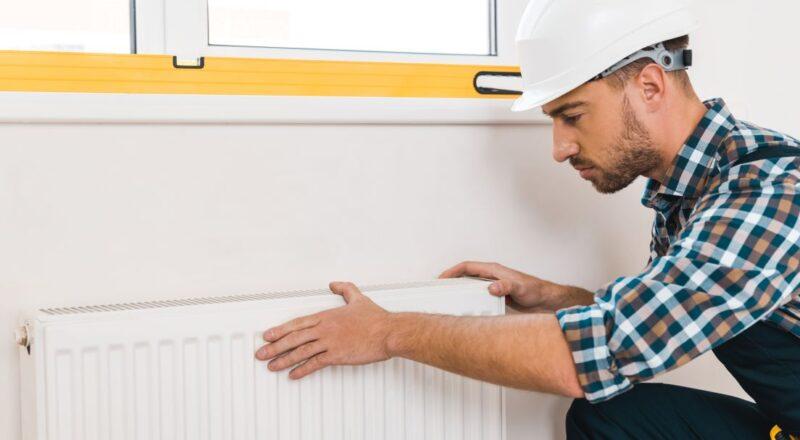

If you find that your radiators aren’t heating up properly or have cold spots then it may be the case that you need to bleed them. But don’t worry even if you are not a dab hand at DIY it is a simple job that should only take about 15-20 minutes. Bleeding a radiator is simply releasing air that has become trapped in your heating system, this can increase the heat in your house and save you money on your energy bills. With our step-by-step guide and key tips, you will be bleeding radiators with ease.
As a general rule we recommend that you check for cold spots between 2-3 times per year and bleed when necessary.
Reasons you may need to Bleed your Radiator:
- Your radiators are cold at the top – this suggests that there is air trapped at the top of the radiator preventing heat from transferring effectively.
- Your entire radiator is cold – this points to there being sludge in the system. You will need to drain all the water from the entire system and replace it.
- Your walls have mould on them – if you notice that mould is developing around your radiators then this may indicate that your radiators are not heating up properly which allows moisture to develop.
- You can hear a rattling noise from your radiator – this suggests that there is something blocking a tube inside of the radiator and a gentle tap may dislodge it. If not, a professional may be needed to fix this issue.
Materials Needed:
These are necessary to protect your walls and flooring from water spillage:
Tools Needed:
We recommend using a radiator key, they are cheap to buy if you don’t already have one. However, a flathead screwdriver may do the job otherwise.
- Radiator Key – Buy Here
- Adjustable Wrench – Buy Here
- Flathead Screwdriver (if you do not have a radiator key) – Buy Here
Preparation:

There isn’t a load of preparation to do, but it is still important to have everything in place before you begin. Place a cloth/towel between the radiator and the wall, one on the floor beneath the radiator and one to hand in case water sprays out of the radiator. Position a small bowl/container directly underneath the radiator valve in order to catch any water that comes out.
Checking to See if your Radiator needs Bleeding:
Step 1:
Run your hands over the radiator whilst your heating is on, do not leave your hand on the radiator for too long and be careful to not burn your hands.
Step 2:
Compare the temperatures at the top and the bottom of the radiator, if the radiator is cooler at the top then the chances are that you need to bleed the radiator.
Bleeding your Radiator: Step-by-Step Guide:

Step 1:
Switch off your central heating system and hot water at your boiler and give your radiators time to fully cool down, this could be an hour or more. This is an important step as with the heating on you could scold yourself if any boiling water or steam escape from the bleed valve.
Step 2:
Locate the bleed radiator valve, this is usually at the top of the radiator. It will look like a small metal sqaure pin or screw. If you are bleeding multiple radiators, we advise to start downstairs with the radiator that is closest to the boiler. Finish bleeding all downstairs radiators before moving upstairs.
TIP: If your radiator is a double then it will have two valves and both will need bleeding.
Step 3:
Make sure you have properly prepared and have your towels and bowl in place.
Insert your radiator key (or flathead screwdriver) into the release valve and carefully turn the key a ¼ turn anti-clockwise. You should hear a hissing sound; this is the trapped air escaping and means you are doing it right.
Step 4:
Be careful to not fully open the valve as this will result in water escaping too quickly. It can take up to 60 seconds to release all the air from your radiator.
Step 5:
You may want to have a cloth to hand just below the valve as once the hissing sound stops water will begin to come out, this can happen suddenly so be prepared. Once water starts to leak out quickly turn the key clockwise to re-tighten the valve until it is fully closed. Be careful not to twist too far.
Step 6:
If accidently the valve comes out then you will need to use an adjustable spanner in order to replace it.
Step 7:
Repeat this process in steps 3-6 on all other radiators that need bleeding.
Step 8:
Check the pressure gauge on your boiler, you may notice that the pressure has dropped. This happens because you have released hot water and air from the system.
To return the pressure in your system back to the original range you need to adjust the filling loop. Check your boiler for the manufacturer’s instructions on how best to do this.
Step 9:
Once the boiler pressure is back to normal, turn your heating back on and allow time for your radiators to heat up. Next, check your radiators for any cold spots, if cold patches remain then you may need to repeat the bleeding process or it could be that you have a small air leak or sludge in your system in which case you may want to get a professional to flush your system.
Check out all our other blogs: Click Here
<!-- ShareThis BEGIN --><div class="sharethis-inline-share-buttons"></div><!-- ShareThis END -->